
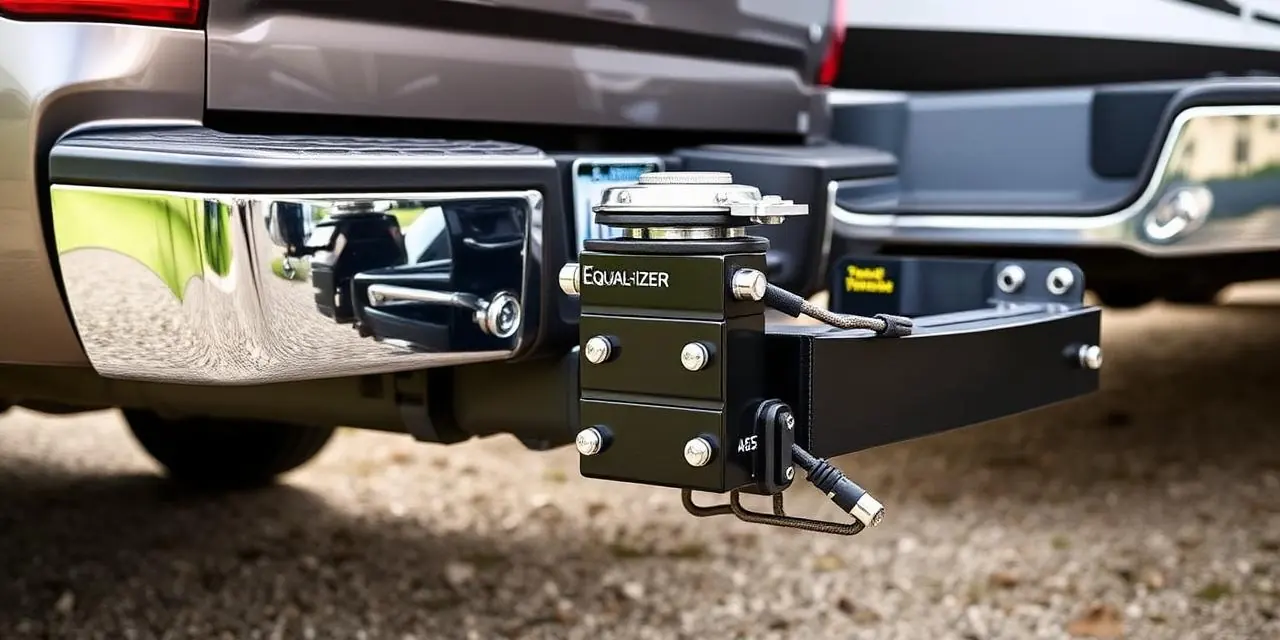
How to Install an Equal-i-zer Sway Control Hitch
Installing an Equal-i-zer sway control hitch involves several steps to ensure proper setup and functionality. Here is a general guide on how to install an Equal-i-zer sway bar.
Note: This is a basic guide. Always refer to the specific instructions provided with your Equal-i-zer sway control hitch as there may be variations depending on the model.
Materials/Tools Needed
1. Choose the Correct Hitch Size
Ensure that you have the correct size Equal-i-zer hitch for your trailer's weight.
2. Install the Hitch Ball
Install the correct size hitch ball onto the hitch head, following the manufacturer's torque specifications.
3. Attach the Hitch Head to the Shank
Slide the hitch head onto the shank and secure it using the provided hardware. Torque the bolts to the specifications in the manual.
4. Mount the Hitch on the Tow Vehicle
5. Level the Hitch Head
Adjust the hitch head to be level with the trailer when the trailer is level. This may involve raising or lowering the hitch ball.
6. Connect the Trailer
7. Adjust the L-Brackets
8. Attach the Spring Arms
9. Tighten the L-Bracket Bolts
Tighten the bolts on the L-brackets securely. Use a torque wrench to ensure proper tightness.
10. Adjust the Tension
Adjust the tension on the spring arms using the integrated cams on the hitch head. Follow the manufacturer's instructions for proper tension.
11. Perform a Test Drive
Take the tow vehicle and trailer for a short test drive to ensure the sway control is working effectively.
Always refer to the specific instructions provided by Equal-i-zer for your particular model, as there may be variations in the installation process. If you are uncertain or uncomfortable with the installation, consider seeking professional assistance or guidance.
Ready to Start Your RV Adventure?
Browse our inventory or give us a call!